Personal Self-Hosted AI Assistant: Automating with Terraform
Published on: Monday, March 15, 2025
Introduction
In this blog post, I will show you how to deploy a secure,
self-hosted AI assistant using Terraform on a Kubernetes cluster.
We will be using LocalAI
for a secure OpenAI compatible API server for backend,
and Open WebUI based frontend.
We will be using Terraform for a full stack deployment, making this solution easily reproducible and scalable.
Prerequisites
In order to follow this blog post, you will need the following:
- A Kubernetes cluster. Preferably with a node that is accelerated, as in with a Nvidia based GPU. You can use any cloud provider or bare-metal hardware for your cluster. You can refer to my blog post on Achieving High Availability in MicroK8s with Terraform and Ansible for setting up a cluster if you have the necessary physical hardware.
- A Cloudflare account with Fully-setup DNS. We will be using this for publicly exposing our secure AI assistant without the need for a Load Balancers or Ingress Controllers.
- (Optional) A working Keycloak instance for identity and access management. You can refer to my blog post on Self Managed IAM using Keycloak and Terraform for deploying a Keycloak instance within the cluster.
- An OIDC client for securing access to Open WebUI based frontend. You can refer to my blog post on Own Your Authentication: Self-Hosting an OIDC Client Using Keycloak for quickly setting up an OIDC client within a Keycloak Instance. Alternatively, you can use any OIDC client for securing access, for example: Okta, Auth0, Google, etc.
Overview
In this blog we will cover:
- Deploying a OpenAI compatible API backend server using LocalAI that is secured with API keys.
- Provide a custom model gallery for the backend server to use, optimized for smaller GPUs. All models can run on a 6GB GPU.
- Deploying a Open WebUI based frontend preconfigured for interacting with the backend server that is secured by an OIDC Client.
- Exposing the stack securely to the public internet using Cloudflare Tunnels.
In the example here we will only be creating a single API key for the backend server and the frontend server to use, since we are preparing this deployment for personal use.
Full-stack Deployment of Personal AI Assistant
In this section we will deploy the full stack of the AI assistant using Terraform.
- Step 1: Clone the repository and nagivate to the
terrakube/personal-assistantdirectory.git clone https://github.com/abasu0713/terrakube.git cd terrakube/personal-assistant - Step 2: Create a file
variables.auto.tfvarsand populate the following variables:~/terrakube/personal-assistant/variables.auto.tfvarscf_api_token = "<your-cloudflare-api-token>" cf_account_id = "<your-cloudflare-account-id>" cf_zone_id = "<your-cloudflare-zone-id>" keycloak_terraform_client_secret = "<your-keycloak-terraform-client-secret>" cf_domain = "<your-cloudflare-domain>" keycloak_realm_id = "<your-keycloak-realm-id>" keycloak_client_id = "<your-keycloak-client-id>"This step assumes you have already setup a Keycloak instance and an OIDC client. If you haven't, please refer to my blog post on Own Your Authentication: Self-Hosting an OIDC Client Using Keycloak for setting up a Keycloak instance and an OIDC client.
- Step 3: Deploy the Personal Assistant stack using Terraform.
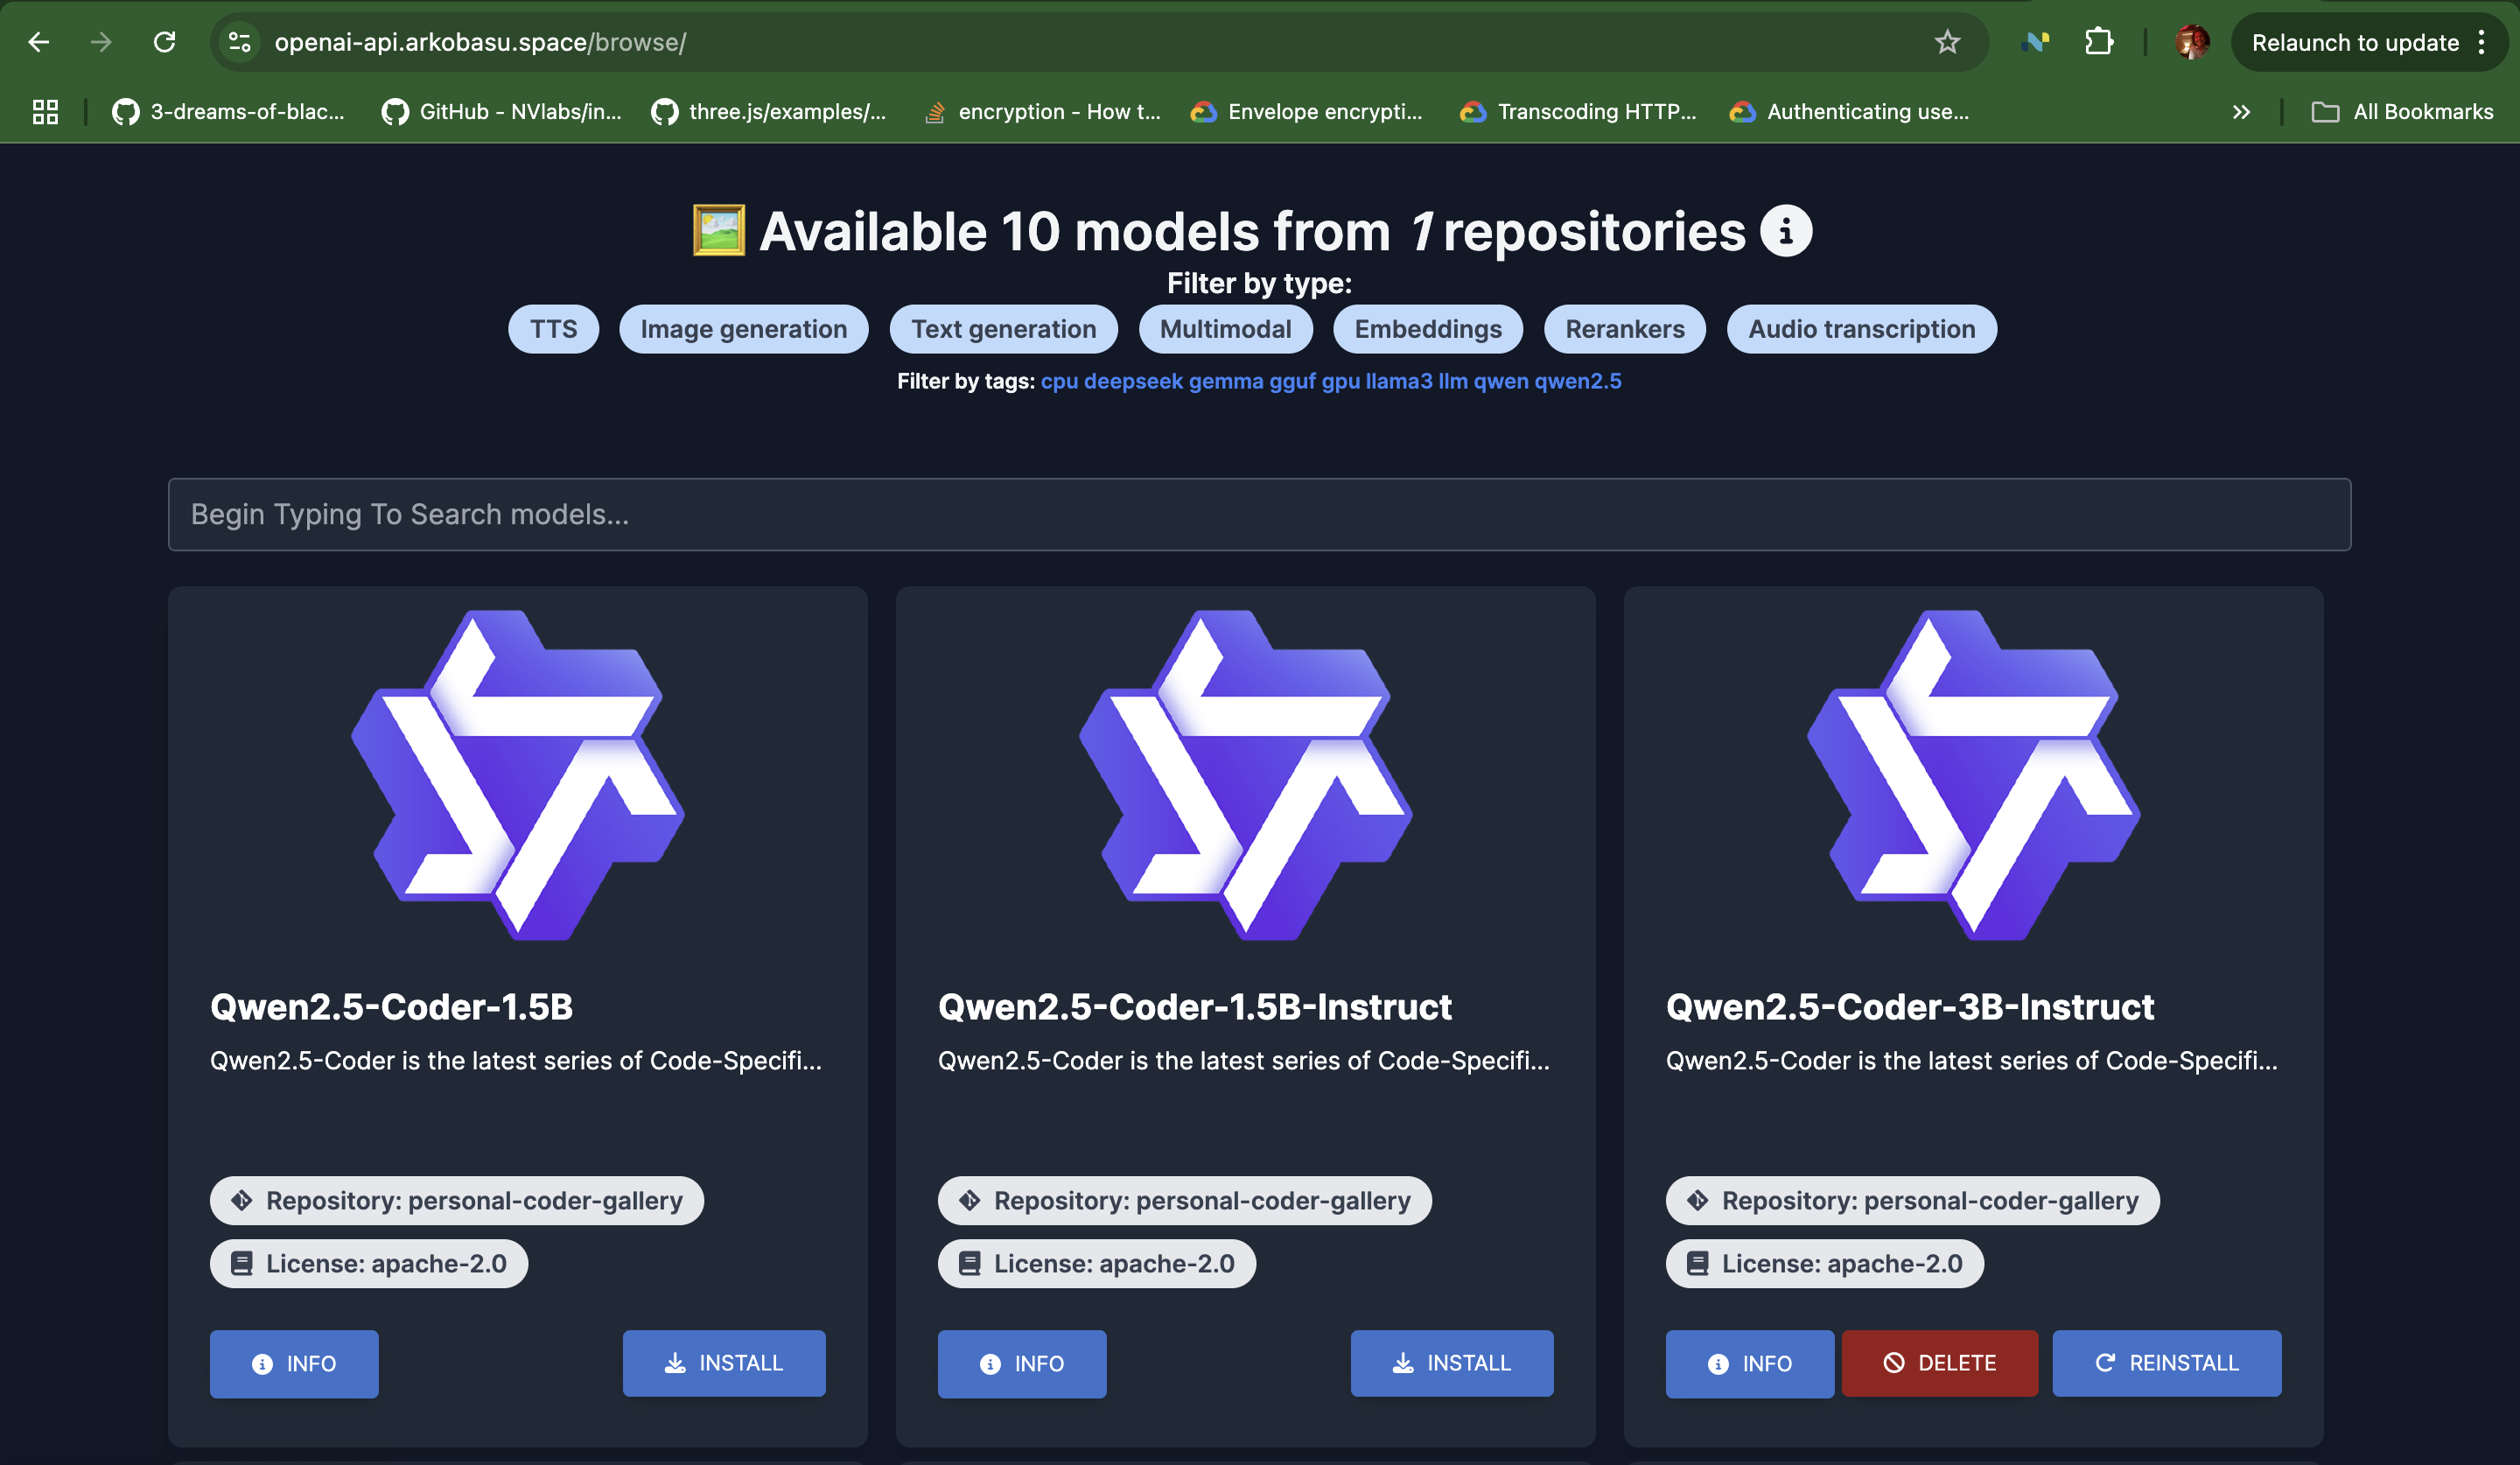
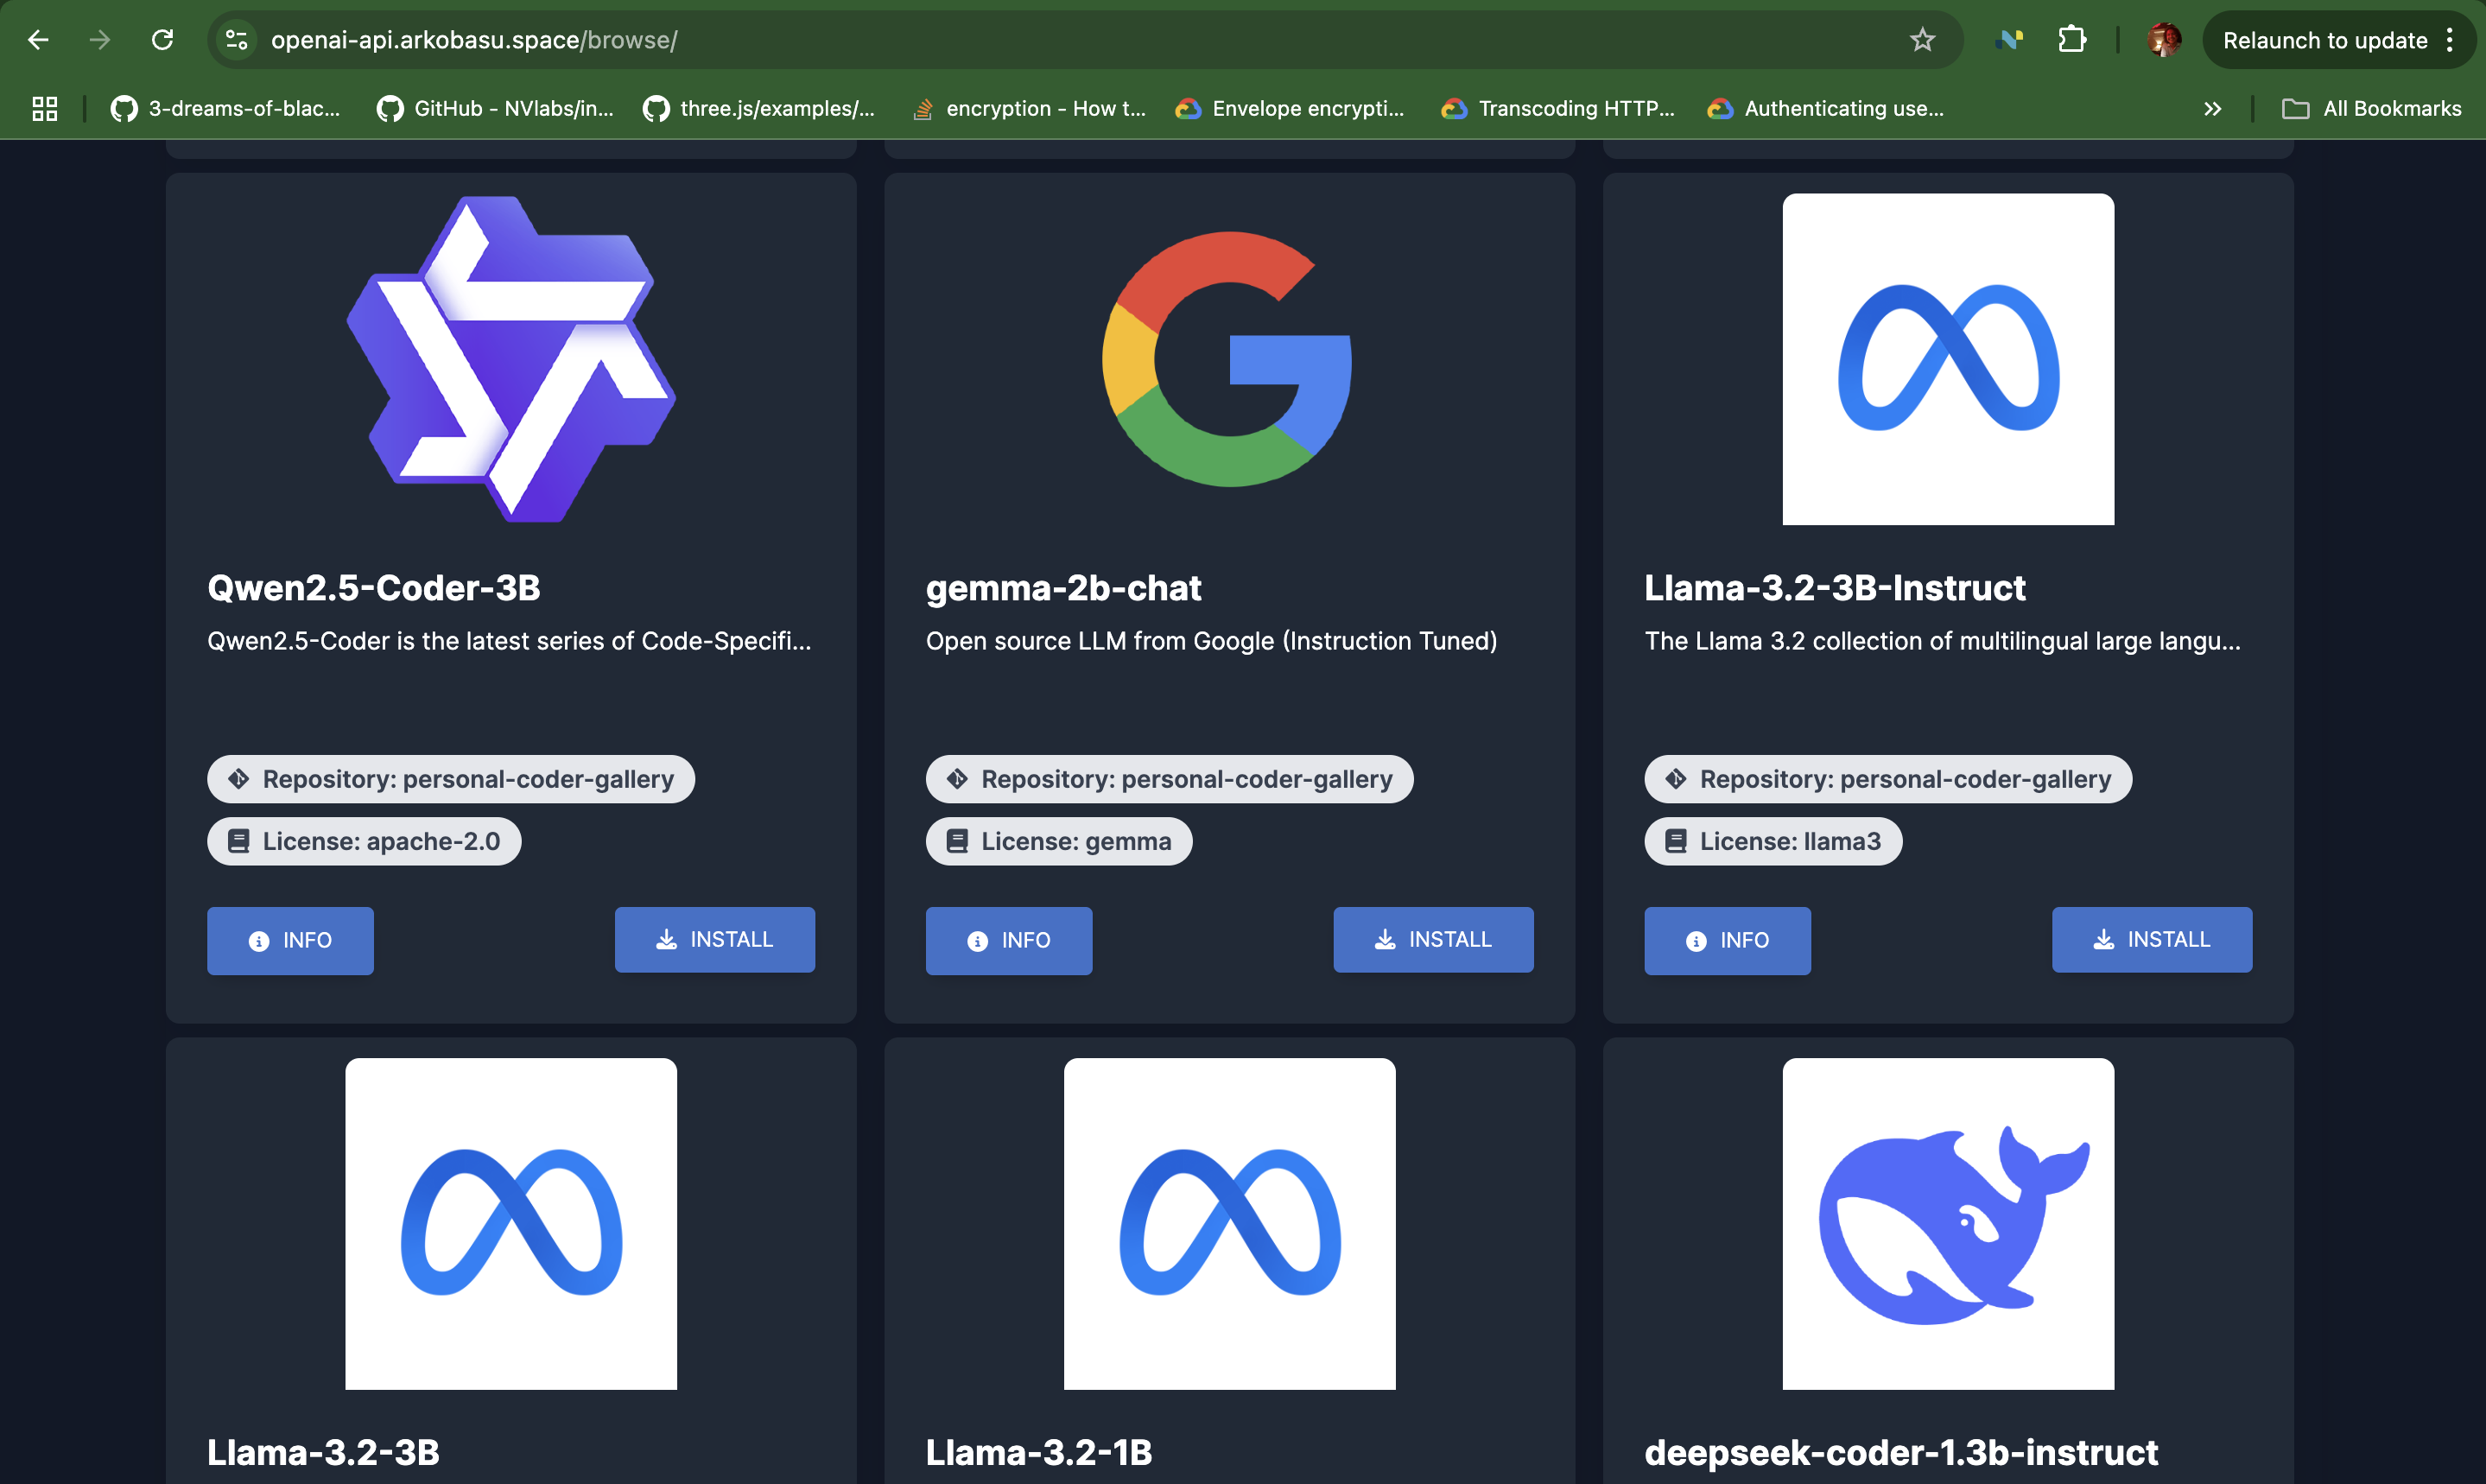
terraform init terraform fmt . terraform plan --out plan.txt terraform apply plan.txtThe deployment uses a custom model gallery curated for Coder tasks. It's a mix of quantized Qwen and Deepseek models, but also includes several Llama models for instruct based tasks. If you wish to try out a wider array of models, simply remove the environment variable block and it will use the default model gallery from LocalAI.
The deployment uses
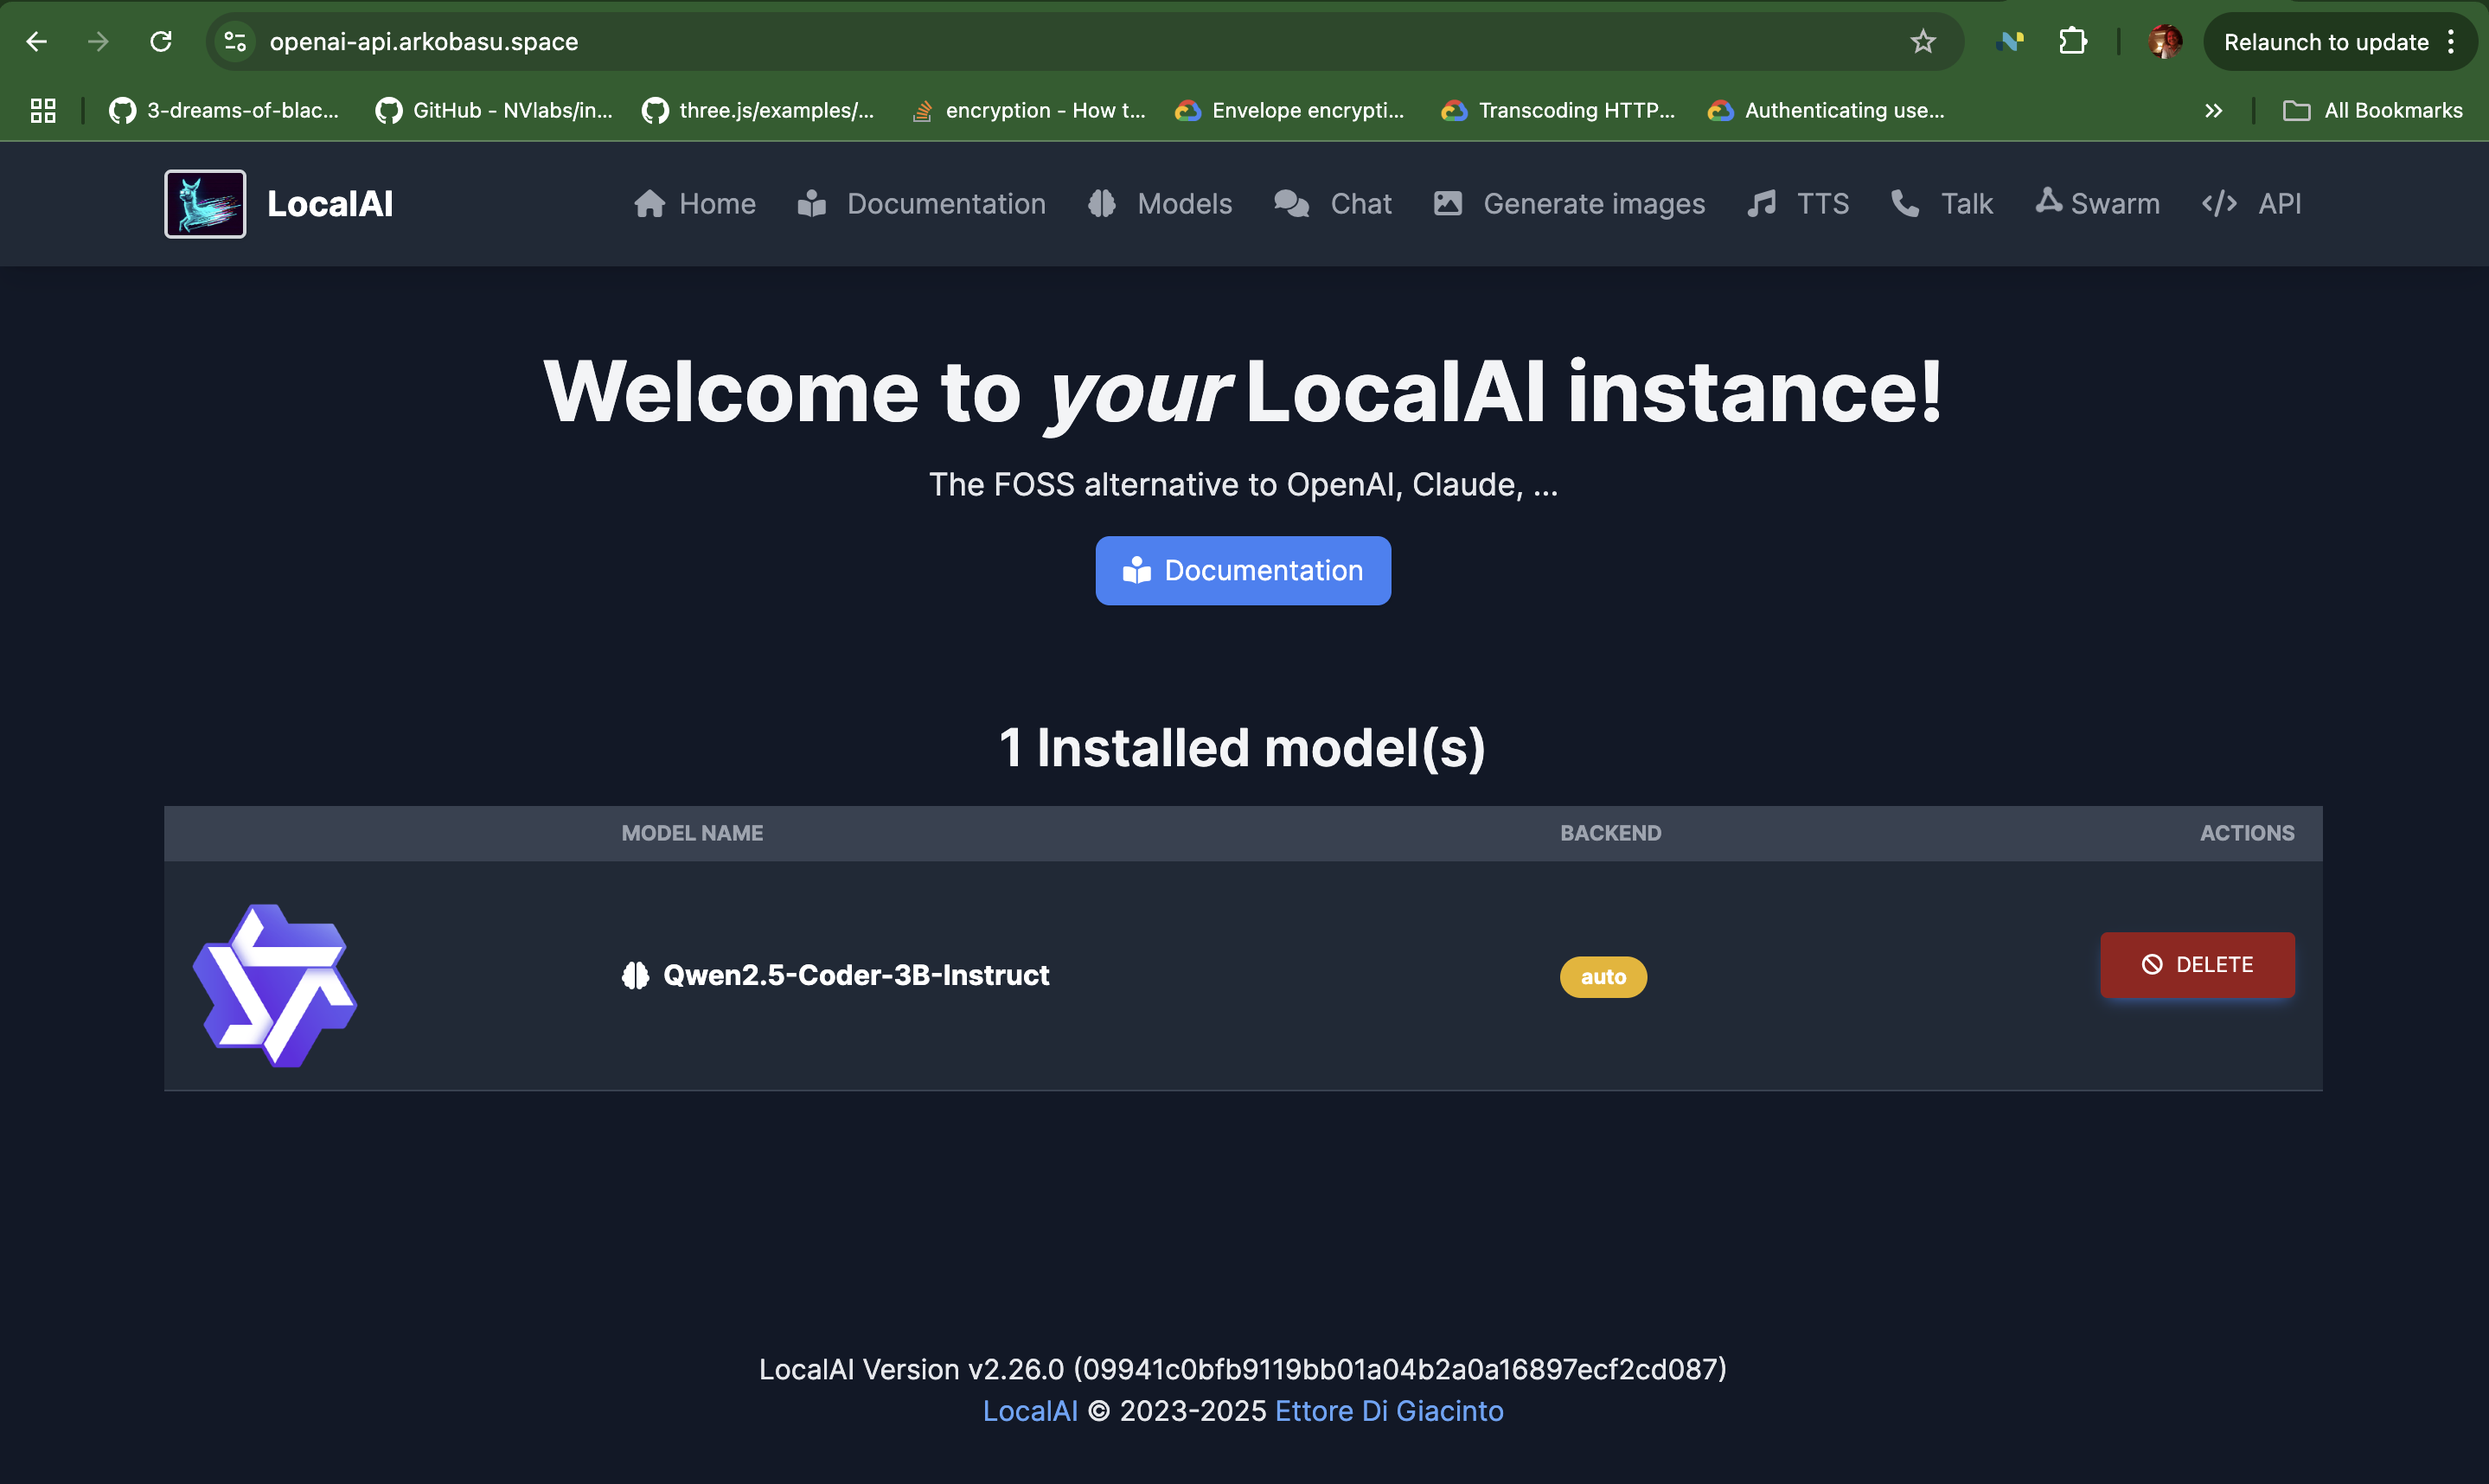
Qwen2.5-Coder-3B-Instructas the default model. Once the deployment completes you can access the backend server UI and load other models from the gallery, and then use them in the frontend.
And that's it. Once the deployment completes, you will have a fully functional AI assistant stack running on your Kubernetes cluster.
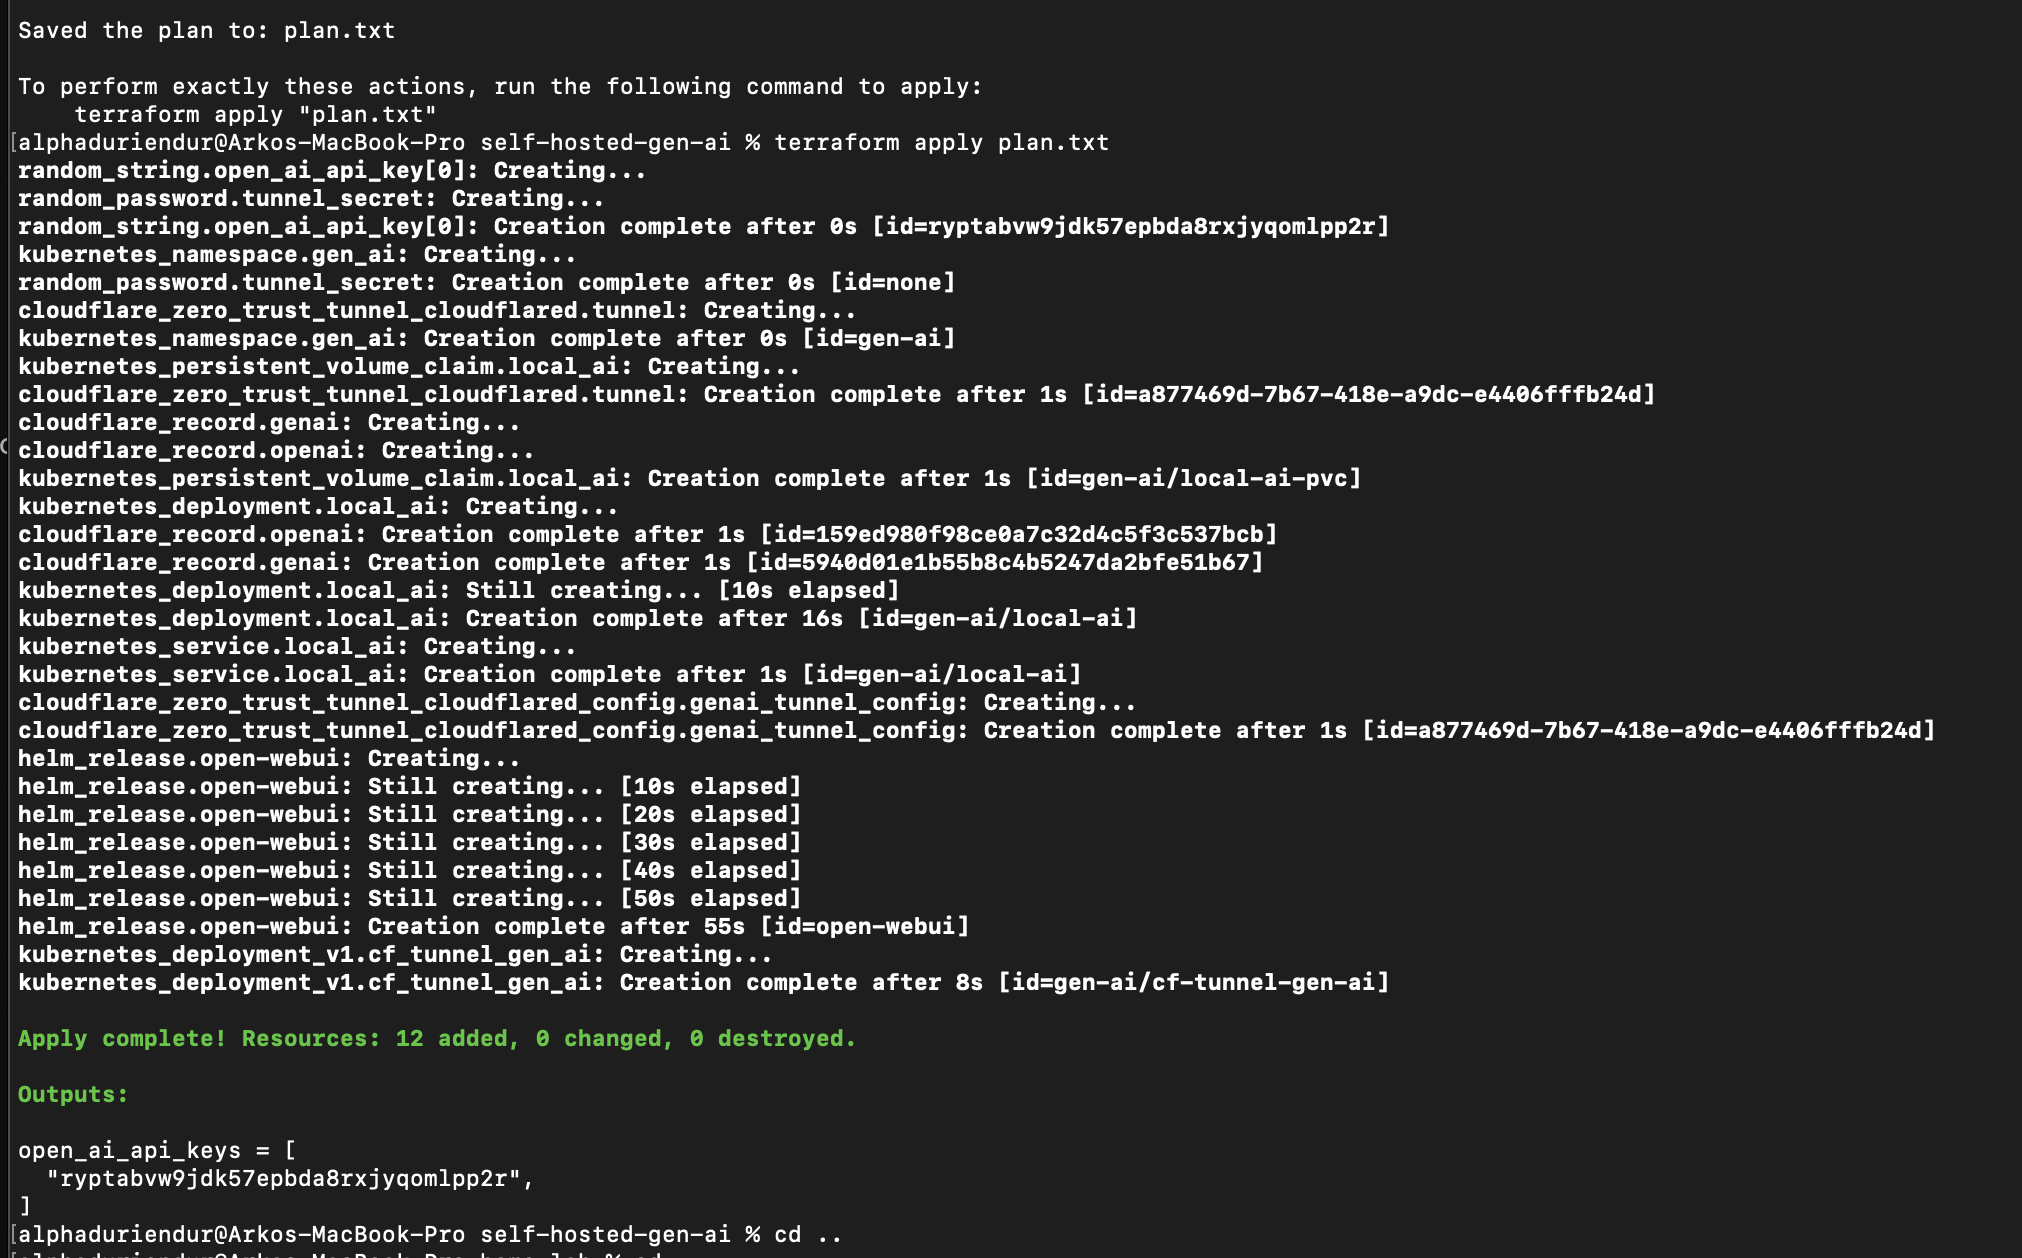
The deployment will output API key(s) which will already be pre-configured for the Frontend to use. This is so, you can login to the Backend server's UI should you wish to load other models for the Frontend to use.
You can access the frontend UI using the following URLs:
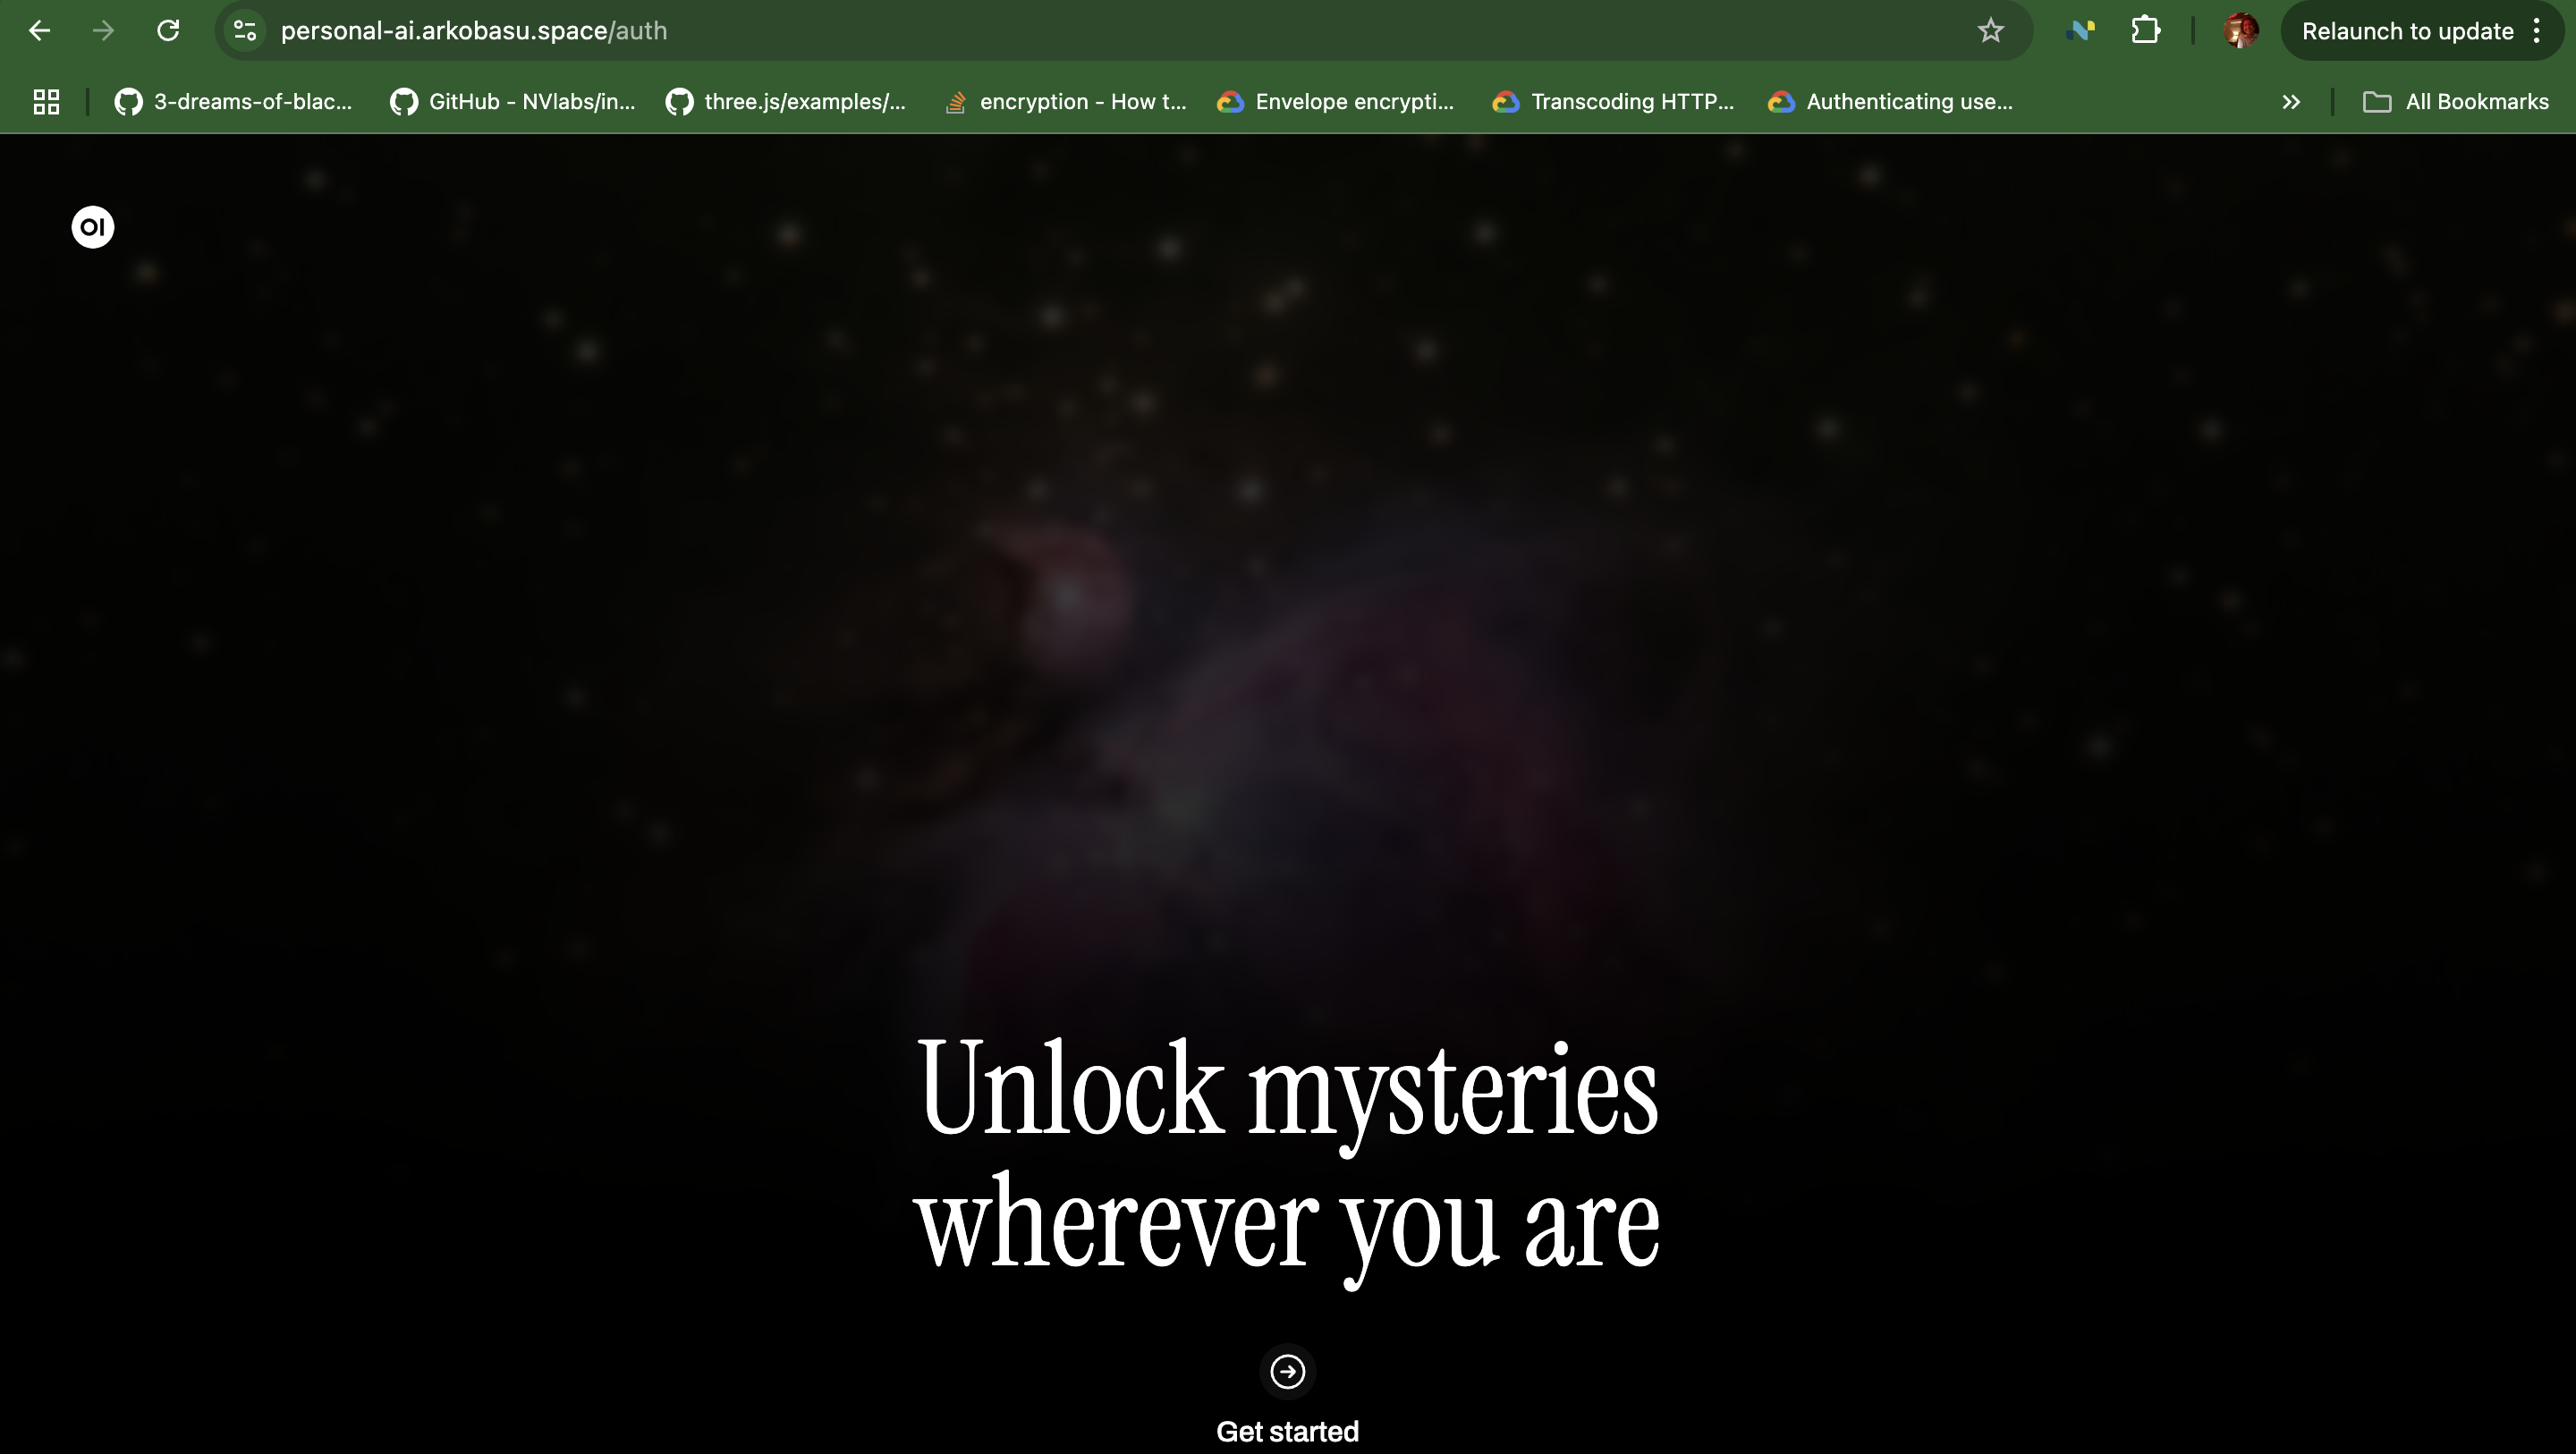
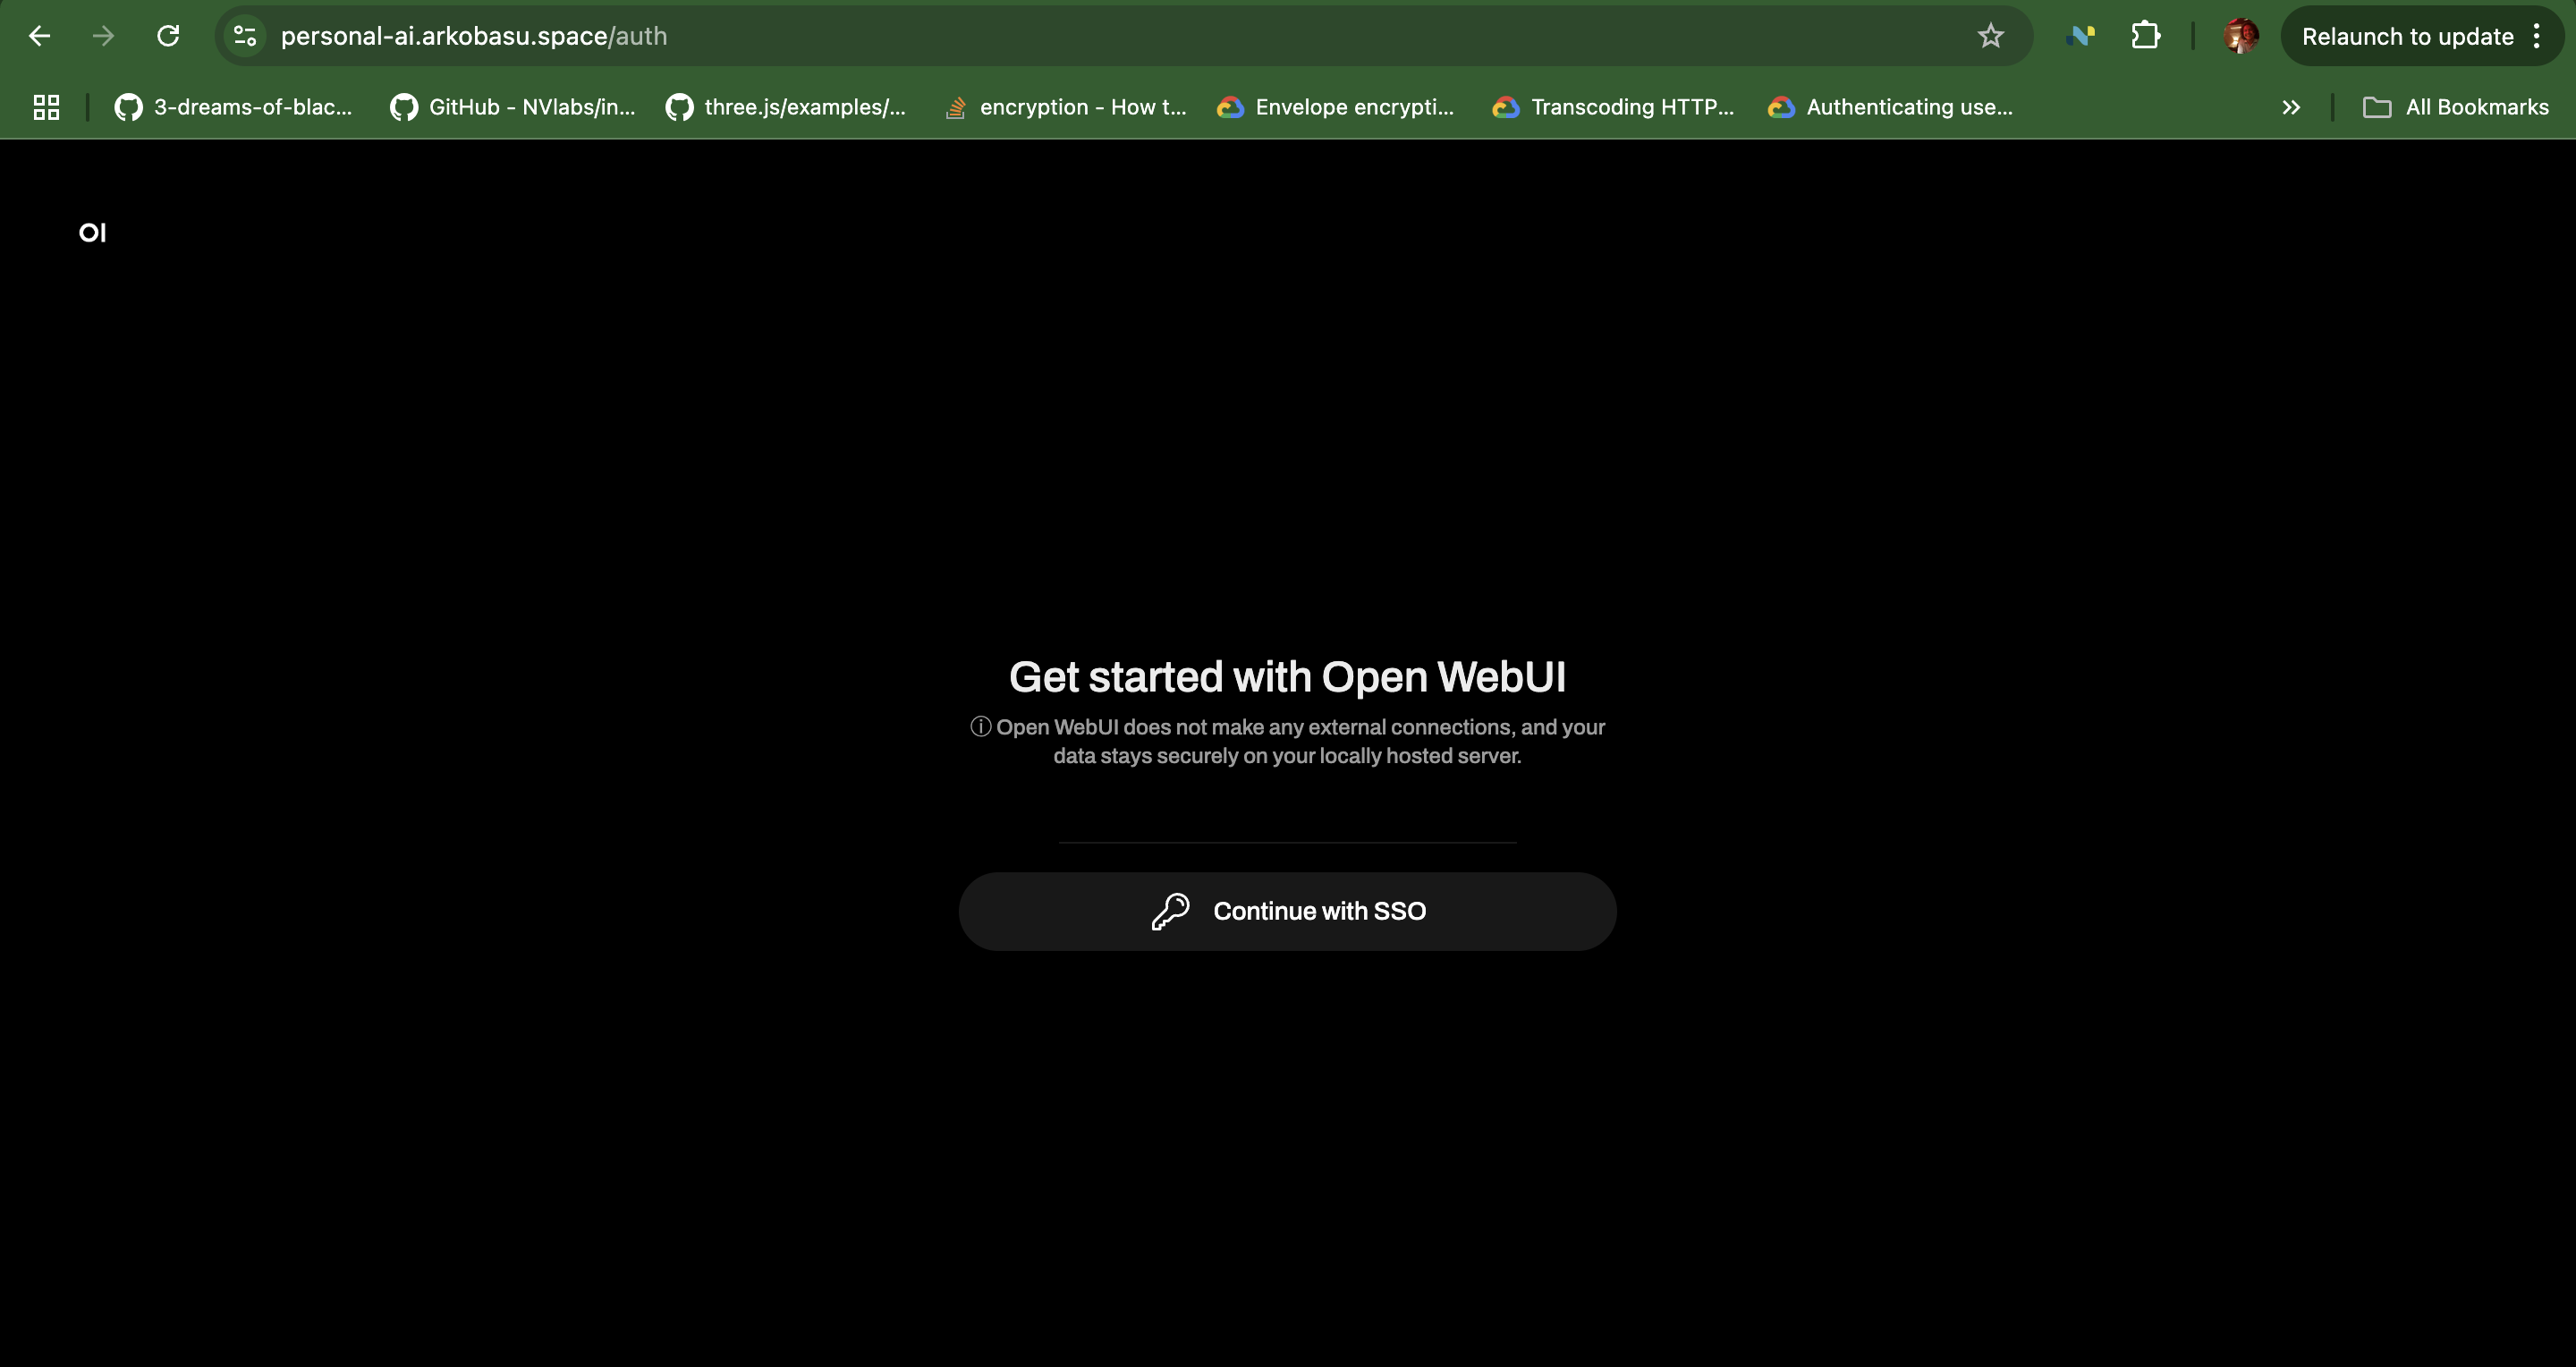
- Frontend:
https://personal-ai.<cf_domain>/The frontend is secured by an OIDC client. You will need to login using the OIDC client you setup in Step 2 to access the frontend.

- Backend:
https://openai-api.<cf_domain>/You can use the API key(s) output by the deployment to access the backend server's UI.
Conclusion
With this we have now deployed a secure, self-hosted AI assistant stack using Terraform on a Kubernetes cluster, with advanced capabilities of using custom models for specific tasks.