Authenticated Routes for Nuxt Applications
Published on: Thursday, December 19, 2024
Introduction
Securing routes in your Nuxt application doesn’t have to be complex. In this blog, we’ll explore a minimalist approach to implementing route guards to ensure only authenticated users can access specific pages. Whether you're building a simple app or a large-scale project, this blog will provide you with the tools and a beginner's friendly introduction on how to add authentication seamlessly to your Nuxt application.
Inspiration
In this blog we will look into leveraging a light weight SSR friendly Authentication module called nuxt-auth-utils to protect some gaurded routes for my blog application.
Since my Blog uses a headless File-based CMS, I wanted an easy way to add some custom functionality that only I could access. For example, I wanted to be able to send emails to all my subscribers after I publish a blog. So I built an admin page where I don't have to manage access credentials within my app, and could use my own Github credentials to access my route gaurded pages. In this blog we will see how. It's a bit hacky, but the idea is to show how seamlessly you can integrate an OAuth provider to your Nuxt Applications.
Overview
We will cover:
Let's dive right in! 🚀
Step 1: Setup and Install route gaurded pages using a middleware
Let's first install the auth module:
npx nuxi@latest module add auth-utils
Let's now setup a middleware:
export default defineNuxtRouteMiddleware(() => {
    const { loggedIn } = useUserSession()

    if (!loggedIn.value) {
      return navigateTo('/admin-login')
    }
})
Let's then setup a login page:
<template>
    <div class="flex items-center justify-center min-h-screen">
      <UCard>
        <template #header>
          <h3 class="text-lg font-semibold leading-6 mb-4">
            <NuxtLink to="/admin">Arko's Restricted Space</NuxtLink>
          </h3>
          <UButton
            v-if="!loggedIn"
            to="/api/auth/github"
            icon="i-simple-icons-github"
            label="Login with GitHub"
            color="black"
            size="xs"
            external
          />
        </template>
      </UCard>
    </div>
</template>

<script setup lang="ts">
const { loggedIn } = useUserSession()
</script>
Next, let's setup a new page that we want protected behind authentication:
We are not going dive deep into exact code implemetation. This page for example uses a layout, and feel free to write a minimal one for yourself
<template>
    <div>
      <NuxtLayout name="admin">
        <template #dropdown>
          <UDropdown v-if="user" :items="dropdownItems">
            <UButton
              color="gray"
              variant="ghost"
              trailing-icon="i-heroicons-chevron-down-20-solid"
            >
              <UAvatar
                :src="`https://github.com/${user.login}.png`"
                :alt="user.login"
                size="3xs"
              />
              {{ user.login }}
            </UButton>
          </UDropdown>
        </template>
      </NuxtLayout>
    </div>
  </template>

<script setup lang="ts">
import { ref, watch } from "vue";
const { loggedIn, user, clear } = useUserSession();

watch(loggedIn, () => {
    if (!loggedIn.value) {
      navigateTo("/admin-login");
    }
});
const dropdownItems = [
    [
      {
        label: "Logout",
        icon: "i-heroicons-arrow-left-on-rectangle",
        click: clear,
      }
    ],
];

definePageMeta({
    layout: false,
    middleware: "auth",
});
</script>

<style scoped>
h3 {
    padding-bottom: 1rem;
}
</style>
With this, we are all set with the frontend side of things!
Step 2: Setup a Github OAuth App
Follow the instructions from Github's documentation to setup a new OAuth App. It's fairly stratight forward. If you are using Github Organization that you can limit the audience for your OAuth App. But if you are using your personal account, like I am, then this OAuth App would allow any user with a valid Github account to sign-in to our application. In the next step we will look at how on the server side we can control that. Do generate the Client Secret and save it to your .env files.
Remember to use the correct homepage and callback URLs like as followed:
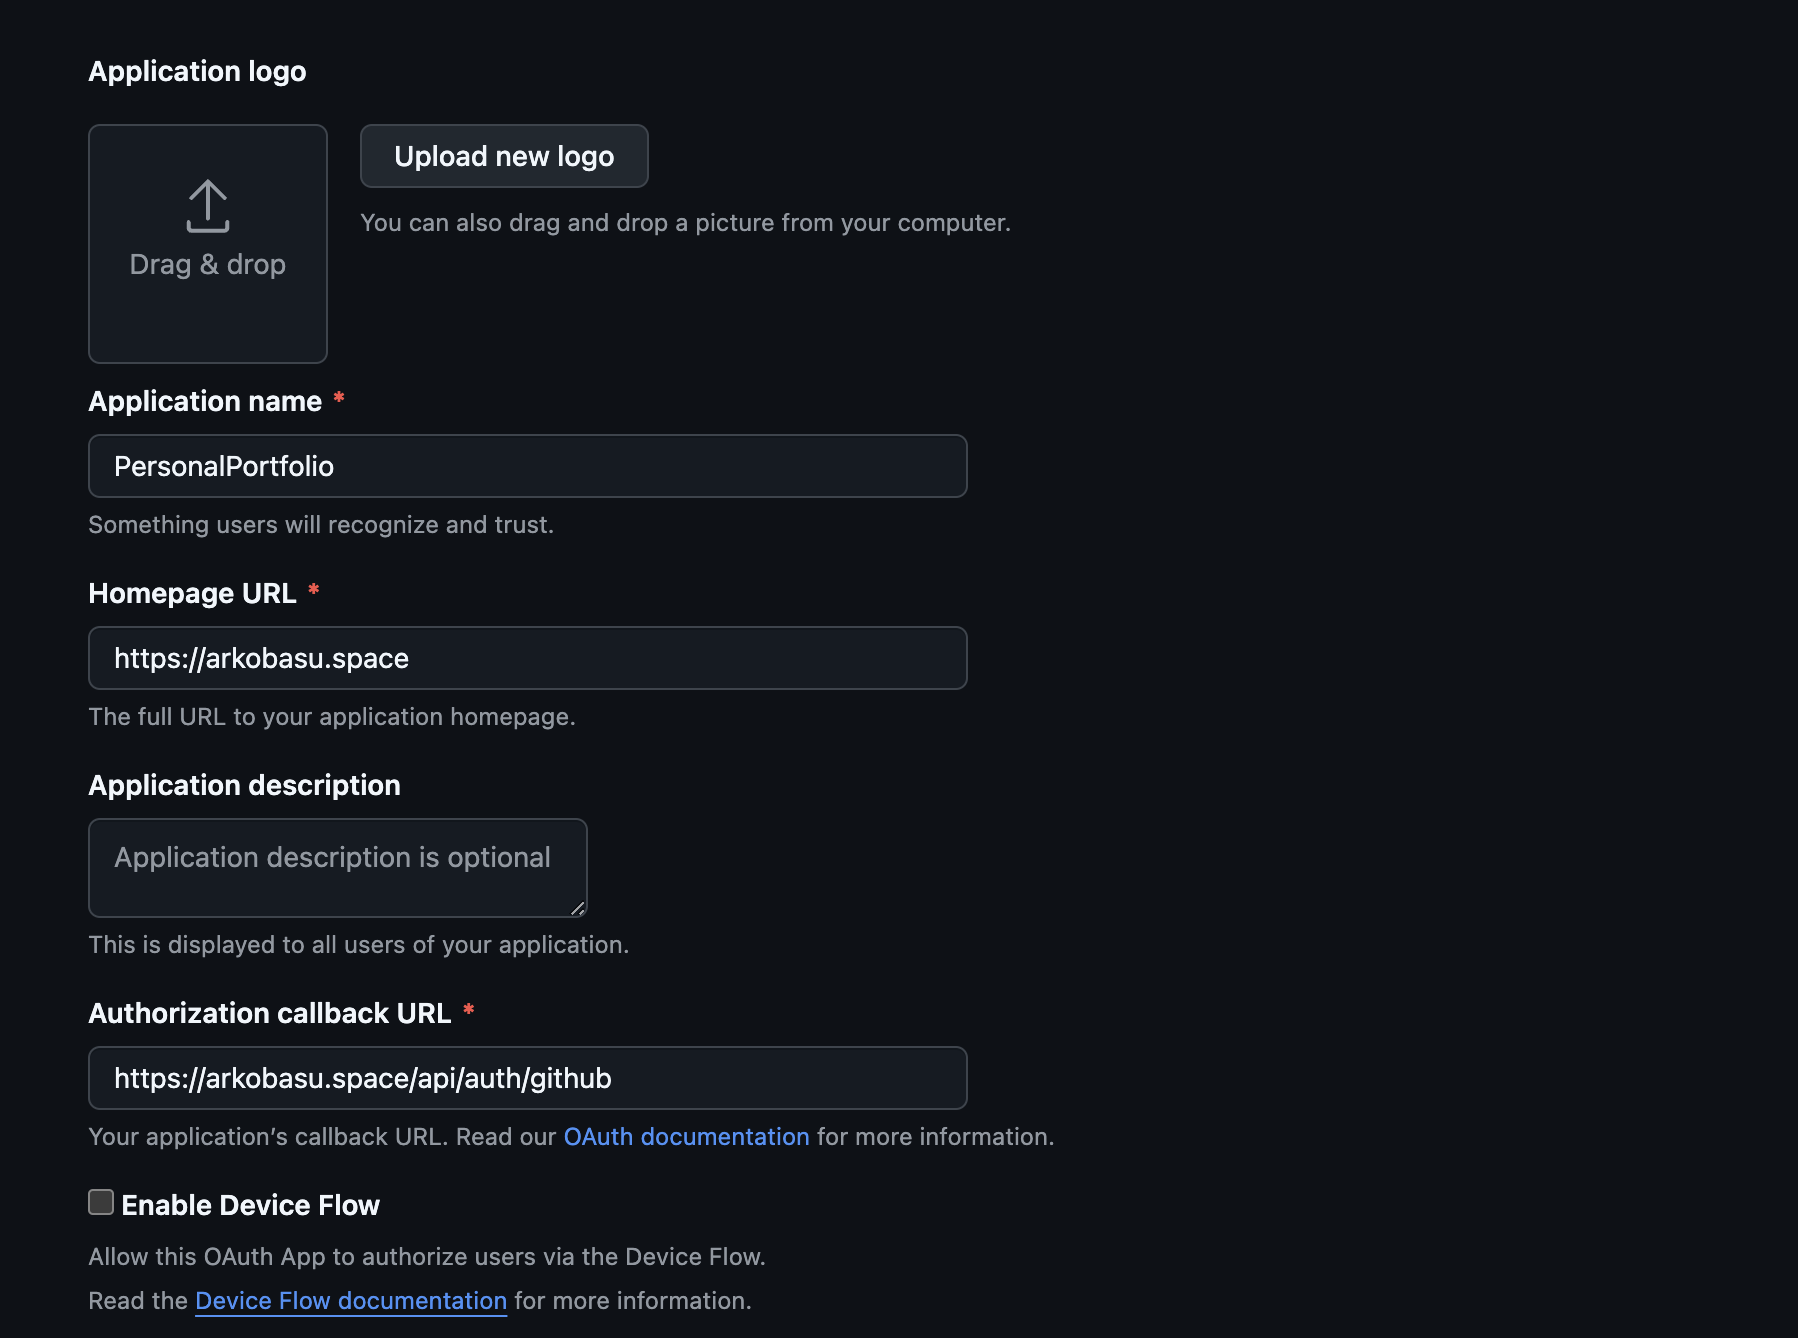
Please don't commit .env to source control.
For local testing simply update the OAUTH app URL's root to: http://localhost:3000
With the new Github OAuth App setup, we can go back to our nuxt application source.
Step 3: Server side Event-Handlers
In this section we are going to leverage simple server-side event handlers from the nuxt-auth-utils that will allow only a single user to use the Github OAuth App.
const allowedUser = "YOUR-GITHUB-LOGIN-USERNAME"

export default defineOAuthGitHubEventHandler({
    async onSuccess(event, { user }) {
        if (user.login !== allowedUser) {
            console.error(`User ${user} is not allowed to log in`)
            return sendRedirect(event, '/admin-login')
        }
        await setUserSession(event, { user })
        return sendRedirect(event, '/admin')
    },
    onError(event, error) {
        console.error('GitHub OAuth error:', error)
        return sendRedirect(event, '/admin-login')
    },
})
Above is the server API endpoint that our frontend application calls from the login page to kick off the Authentication.
You can also store these allowed user list in a Database and then fetch that to check post authentication to make it a bit more dynamic, if you'd like. I wasn't kidding when I said hacky.
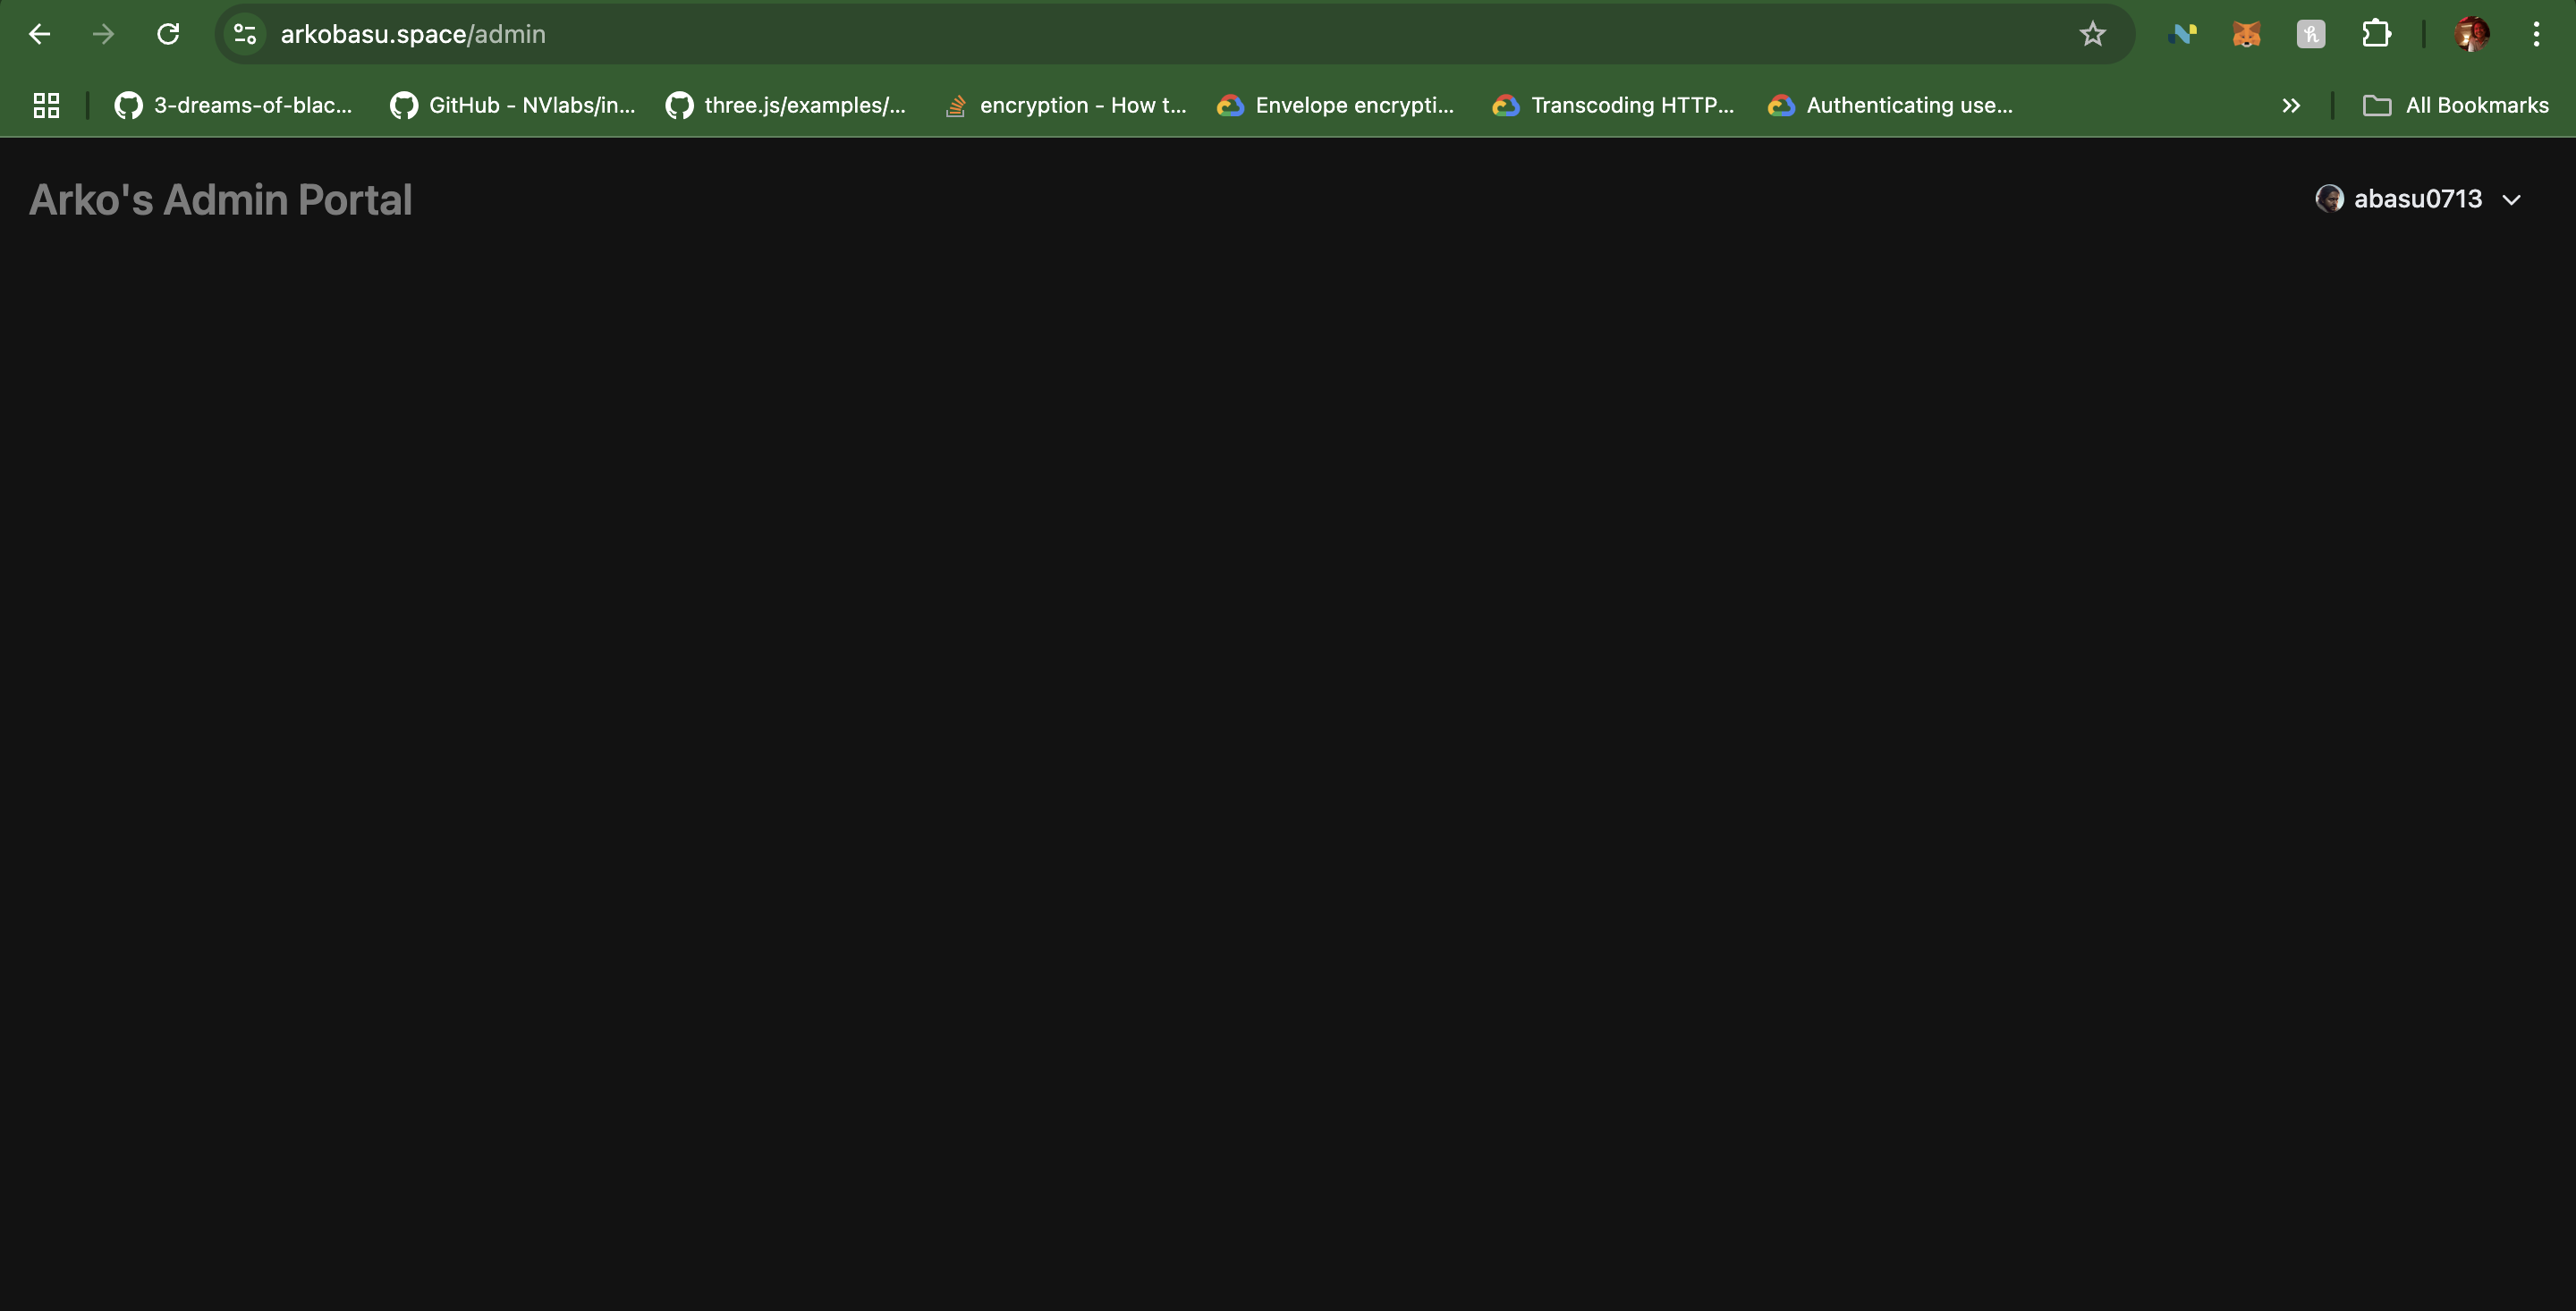
And that's it! At this point, you have a simple auth protected route/pages that you can access using our own Github Authentication Credentials.
Conclusion
Now, with all this in place, when you run the application and navigate to your site's admin page.
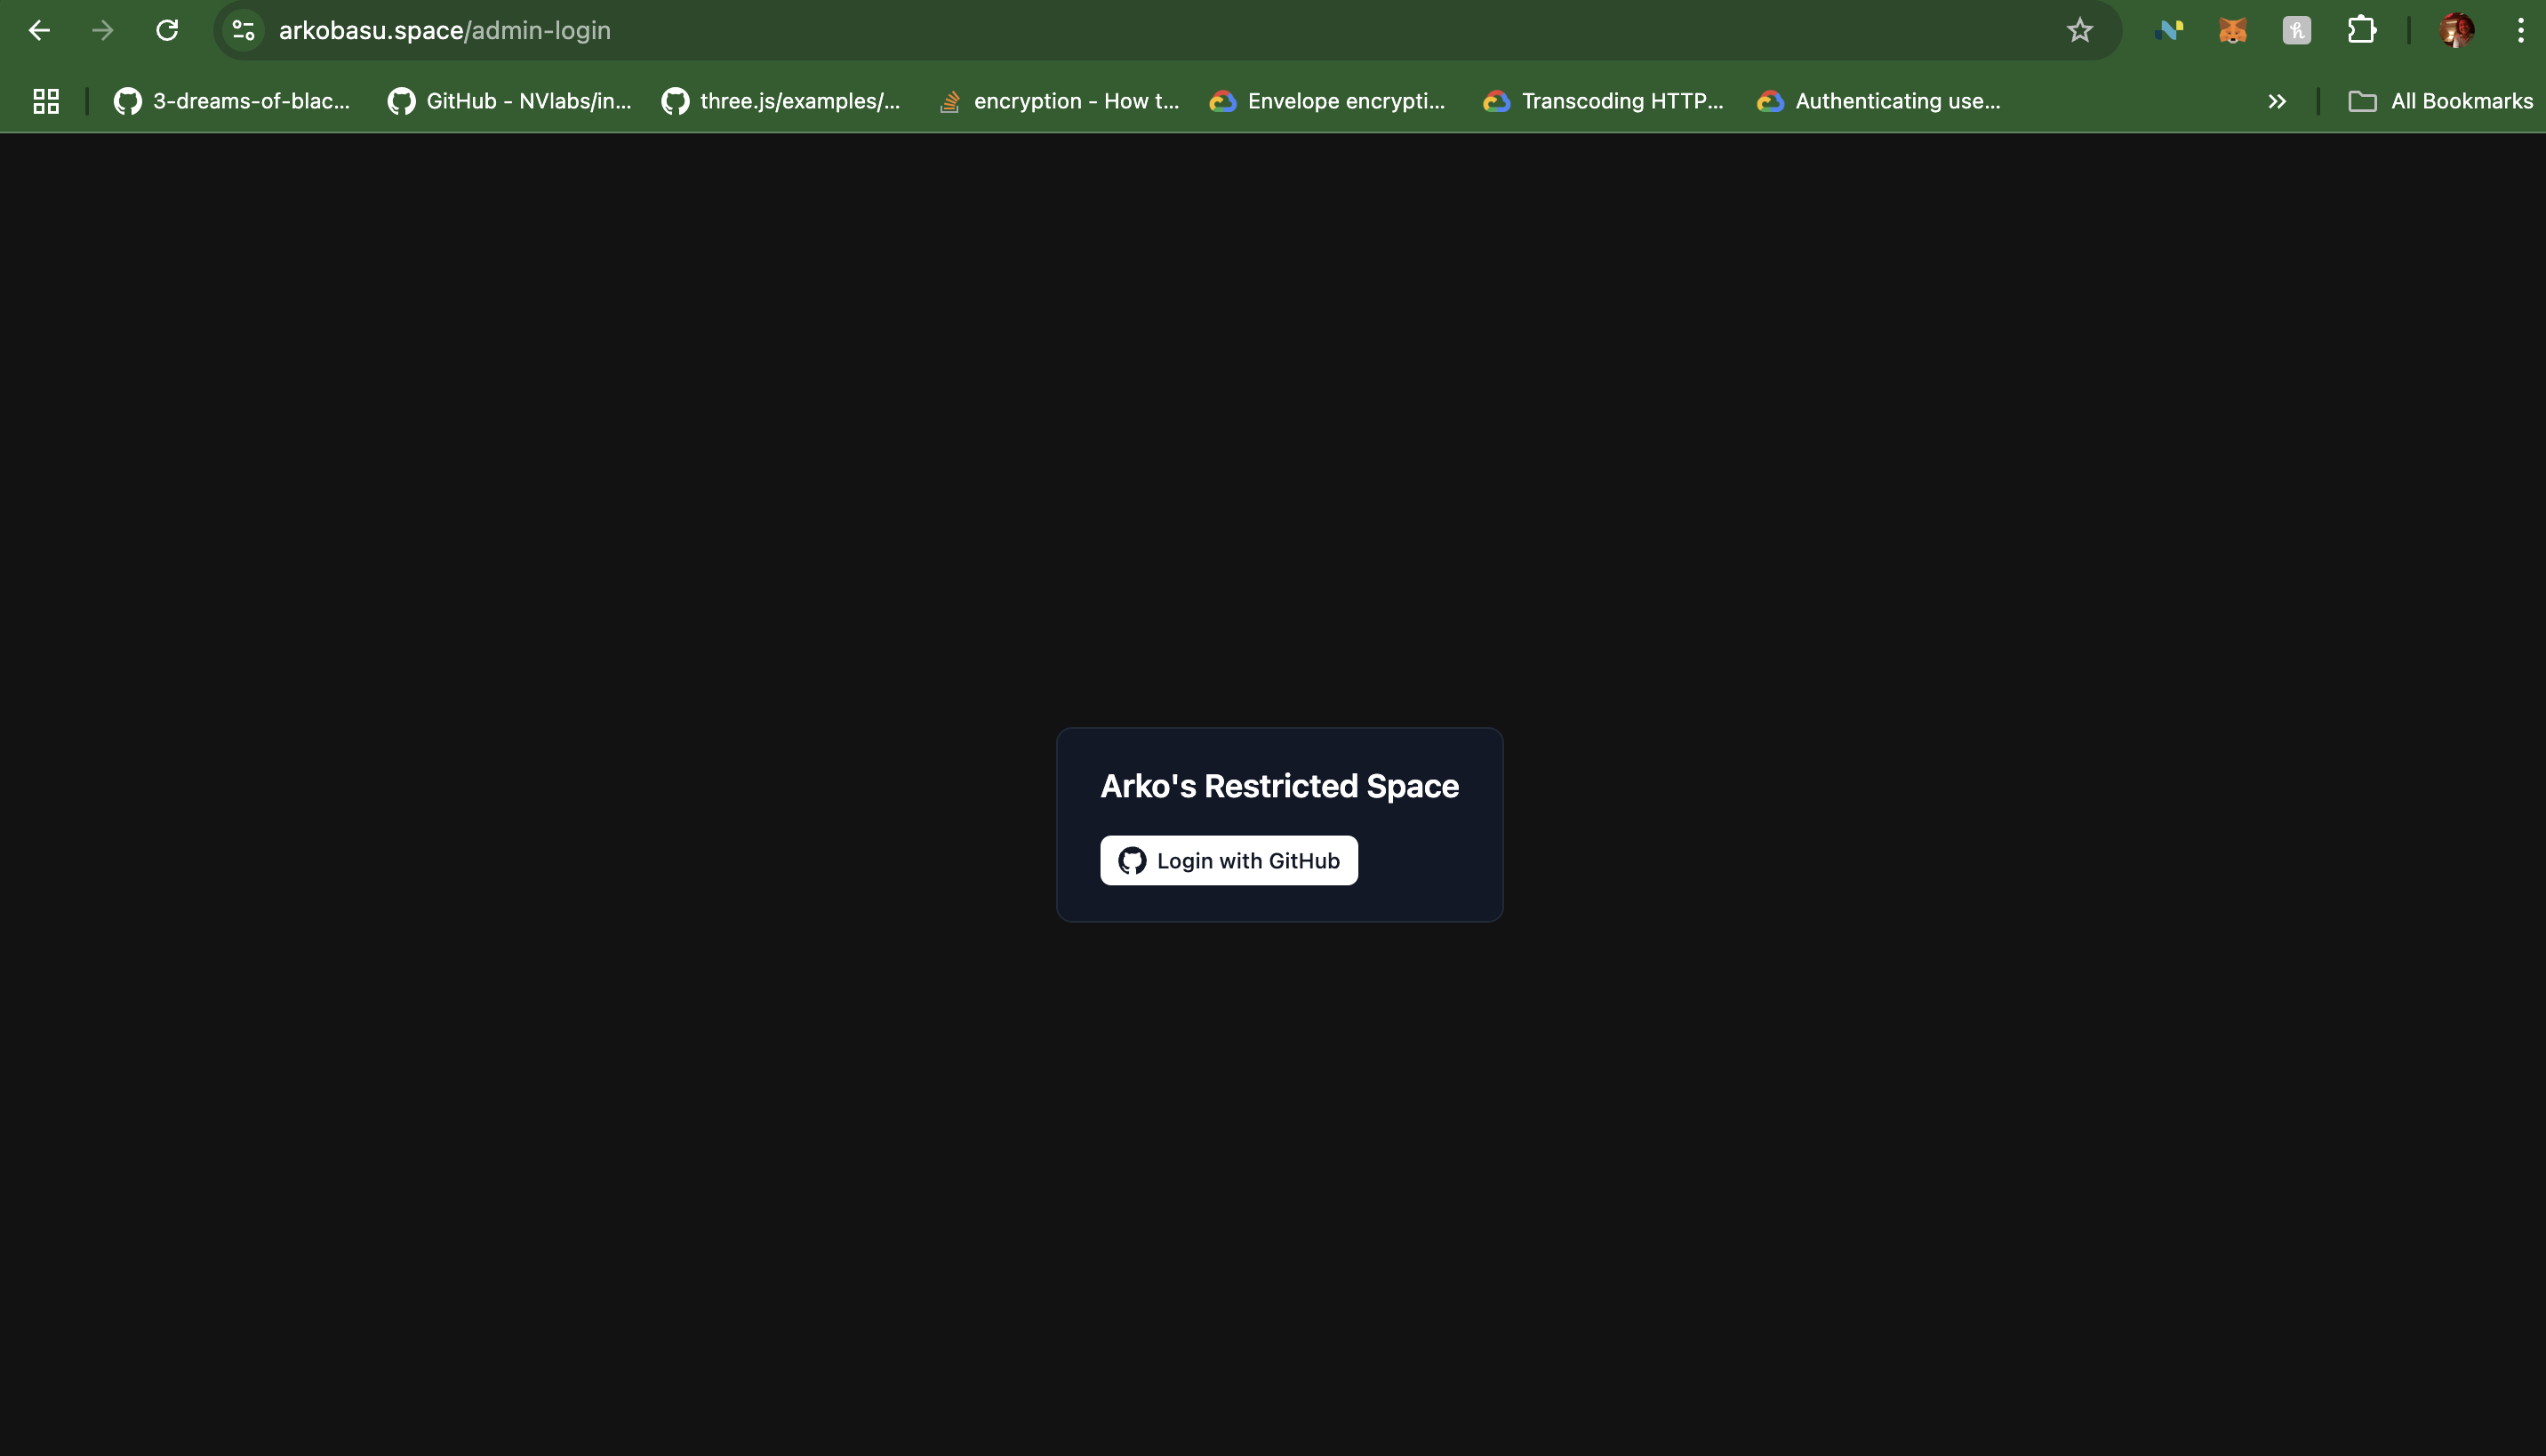
You will notice that we are automatically redirected to the login page. Click on that button to navigate to Github Oauth App login UI, and once authenticated you should be able to access your route protected pages.
And that's it. With these 3 simple steps you can setup authentication guarded pages in your nuxt application. Hope you enjoyed reading this blog. Get out there and build something cool. Please don't hesitate to reach out with questions.